Plan a home gym around the room you actually have
Begin with a measured plan of the room rather than a list of equipment. Record the clear floor area, ceiling height and the position of doors, windows, radiators, cupboards and sockets. Include anything that moves into the space, such as an opening door or a drawer. Then mark a storage position and a separate operating area for each item. A folding treadmill may occupy little floor space when stored but need much more length when open. A bench can look compact until its backrest is raised or a lifter needs room to approach from either end. Using both stored and operating measurements keeps the shortlist tied to the real room.
Separate permanent equipment from items you put away
Decide which equipment can stay assembled and which must move after use. A machine that remains in place needs a sensible route around it and access to adjustment points, plugs and maintenance areas. Equipment that is stored between sessions needs a realistic destination: a cupboard with enough depth, a rack that accepts the item’s shape, or a clear wall position permitted by its instructions. Check the item’s folded measurements and how it is moved, not just whether the word “folding” appears in the title. Wheels, handles and locking parts can affect the process. If putting an item away would require awkward repeated handling, a smaller fixed setup may be the more practical choice.
Compare weights as a complete system
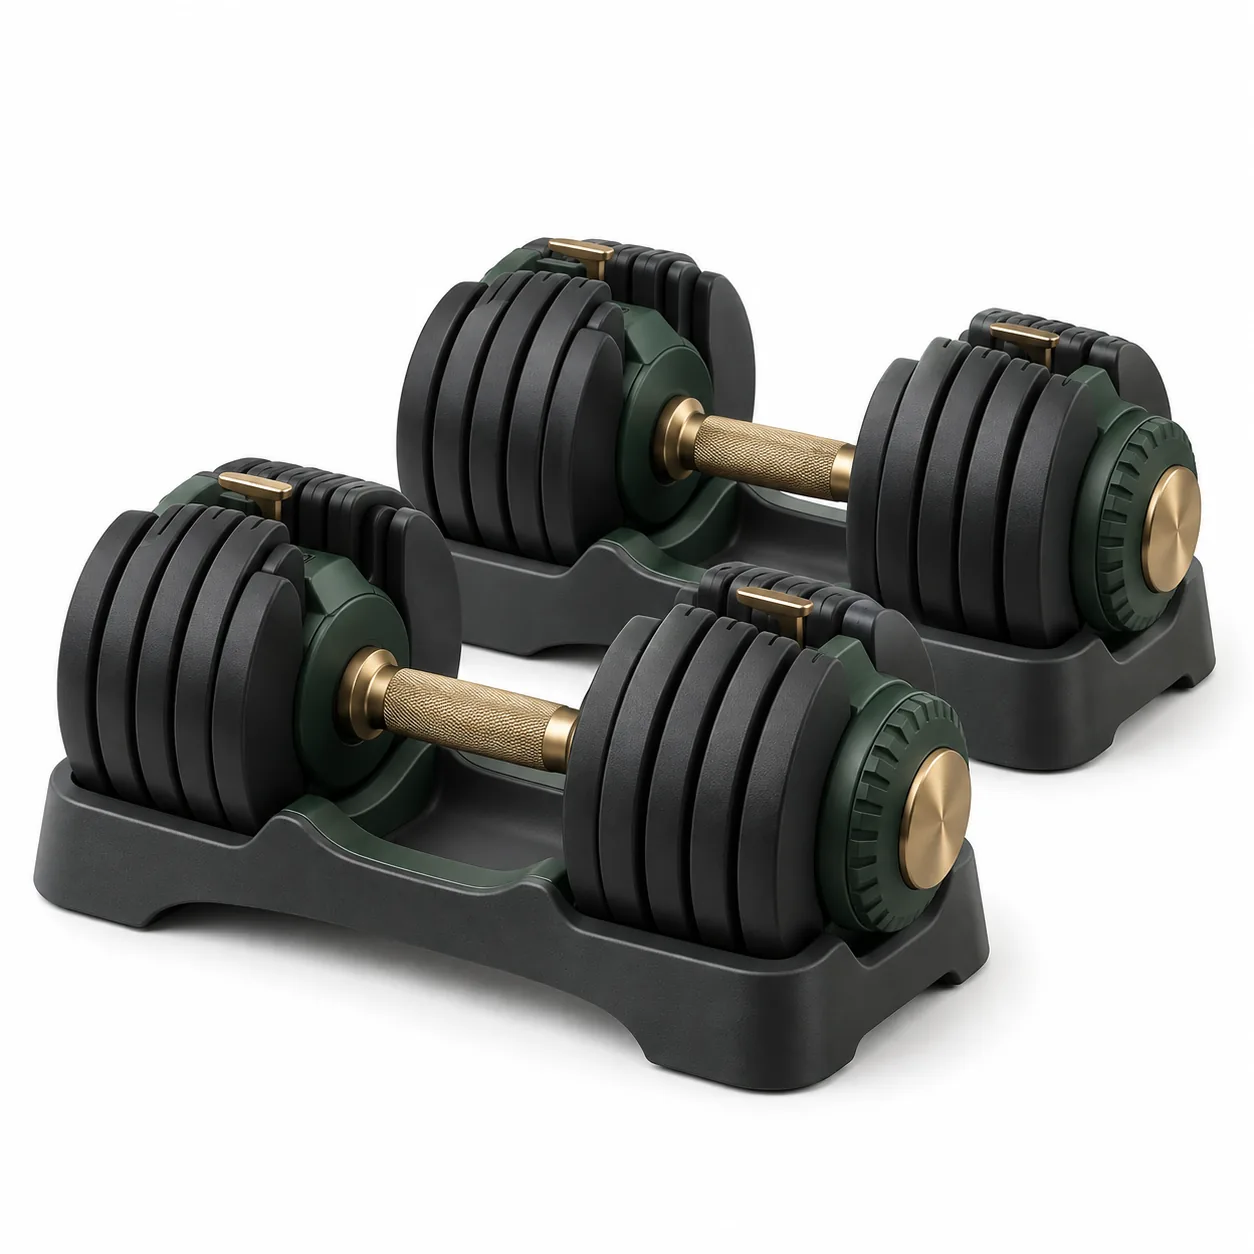
Fixed dumbbells offer one weight per pair and usually need rack space for every step, while adjustable dumbbells combine a stated range in one handle-and-plate system. Compare dial, pin or selector systems with spin-lock handles: the first group may return to a dedicated cradle for changes, while spin-lock designs use loose plates and collars. Check whether the stated range is per hand or for the pair, list every available step, and examine how the setting is confirmed. A quick-change description identifies an adjustment format, not a promise that every change is equally fast or suitable for every use. For plate-loaded handles, record the sleeve diameter, usable sleeve length, collar type and the plate-hole size specified by the maker. Barbell and plate compatibility should come from exact measurements, not from similar-looking photographs. Kettlebells may be fixed or adjustable and need enough shelf height and base area. Include collars, change plates, spare plates and the rack in the plan so the complete system has a safe, uncluttered place.
Measure benches, racks and stands in every position
A bench should be compared using its overall length, pad dimensions, adjustment positions and the floor area used by its feet. Check the height in flat and inclined positions and whether a raised backrest needs extra clearance from a wall. With a rack or stand, look for external width and depth, internal working space, adjustment-hole spacing and the maker’s compatibility information for bars, benches and attachments. Add the longest or widest item that will sit on the rack. If a listing shows optional arms, storage pegs or cable attachments, confirm whether they are included and how they change the footprint. Follow the assembly, anchoring and loading instructions supplied for the exact model.
Assess cardio equipment in its operating layout
Treadmills, exercise bikes, cross trainers and rowing machines suit different room layouts and ways of using the equipment. A treadmill uses a moving belt and needs length behind and around it; a bike keeps the user seated within a shorter frame; a rower needs space along its rail and handle path; and a cross trainer has moving pedals and arms. Decide which format fits the intended activity and users before comparing consoles or styling. Compare the open dimensions first, then the folded dimensions if storage matters. Check the space needed to mount, dismount and reach controls without squeezing past furniture. For a treadmill, note belt dimensions, handrail position and the maker’s stated clearance guidance. For a bike, compare adjustment ranges, pedal width and access around the saddle. A rower needs room for the rail and the handle path, while a cross trainer needs clearance for moving pedals and arms. Use the exact manual for positioning, power and inspection requirements rather than assuming that similar machines share them.
Choose flooring with the equipment and room in mind
Floor protection can help define the equipment area and keep small parts together, but the correct surface depends on the room, equipment and maker’s directions. Measure mats against the full feet or base of the item, allowing for any movement described in the instructions. Check door clearance and trip edges before covering a walkway. Heavy equipment and concentrated loads may need a suitability check for the building and floor construction; a product photograph cannot answer that question. Also consider whether the surface needs to be removed for cleaning or access. Avoid stacking improvised layers if that would make equipment unstable, and never use a mat as a substitute for required levelling or anchoring.
Plan power, cables and controls before delivery
Powered equipment needs a socket arrangement that follows the manufacturer’s instructions and local electrical guidance. Record the plug location, supplied cable length and where the cable will run when the item is in use. Keep it away from moving parts and normal walking routes. Check whether a screen, console or app is essential to basic operation, and read the listing for any required account, subscription or compatible device. Wireless features do not remove charging or update requirements.
Check access, delivery and assembly as part of the choice
Large equipment must reach the room before its final dimensions matter. Measure the narrowest doorway, corridor turn, stair width and lift opening on the delivery route. Compare those measurements with packaged dimensions where they are supplied, not only the assembled product. Check the packaged weight, number of boxes and whether delivery is to the door or the intended room. Read what tools and assembly stages are required, which parts need two people according to the manual and whether professional assembly is offered. Do not plan to force a heavy box through a route that has not been measured.
Use storage to keep the floor and adjustments clear
Storage works best when each item has a specific position. Plate trees and dumbbell racks need stated compatibility and load information; a general shelf may not be intended for concentrated gym equipment. Bands, collars, handles and small attachments can be grouped in a basket or drawer where they will not be stepped on. Long bars need support that follows the storage maker’s instructions and does not obstruct doors or switches. Leave access to adjustment controls and inspection points rather than packing equipment tightly around them. If a stand is included with adjustable weights, include its assembled footprint and loading direction. A clear storage plan also makes it easier to notice missing, loose or damaged parts.
Compare adjustments and included pieces line by line
Two products with similar names may include different parts or use different adjustment methods. Copy the exact model code, included components and optional extras into a shortlist. For selector equipment, note where the item must sit while the setting changes and how engagement is confirmed. For pins, knobs and locking levers, check the available positions and the maker’s instructions for securing them. With plate-loaded products, list the supplied plates, bars and collars separately. Do not infer that a stand, mat, bench or attachment shown in a styled photograph is included. Where several variants share one listing, recheck the selected size or configuration after following the More Info link.
Read the manual before deciding where the item will live
A manual can answer questions that a short listing cannot: required clearances, levelling, folding locks, inspection points, lubrication, battery care, maximum stated loads and permitted accessories. Find the instructions for the exact model rather than a family with a similar name. Check whether routine care is practical in the chosen location and whether any panel or fixing becomes inaccessible against a wall. Follow the stated inspection schedule and stop using equipment that is loose, damaged or behaving differently from the instructions. Cleaning methods should suit the specified materials and electrical parts. Keep the model number, purchase record and manual together so replacement parts and support requests can be matched correctly.
Build a final comparison from verifiable questions
Before choosing, ask the same questions of every shortlisted option. What are the stored, operating and packaged dimensions? Which parts and accessories are included? What settings are actually available, and are weights stated per item or for a pair? Where will the item be stored, adjusted, powered and maintained? Does the exact model fit the measured delivery route and room layout? Which assembly steps, clearances and floor requirements appear in its manual? What are the seller’s current delivery, return and warranty terms for the selected variation? A written comparison based on those answers is more useful than ranking products by appearance, and it exposes missing information that should be resolved before ordering.